# Contentstack
[Contentstack](https://www.contentstack.com/) is an API-first headless content management system (CMS).
commercetools Frontend comes with an out-of-the-box Contentstack extension to integrate Contentstack in your commercetools Frontend project.
With the extension, you can deliver content from Contentstack, such as images, videos, and other media assets, to your commercetools Frontend website.
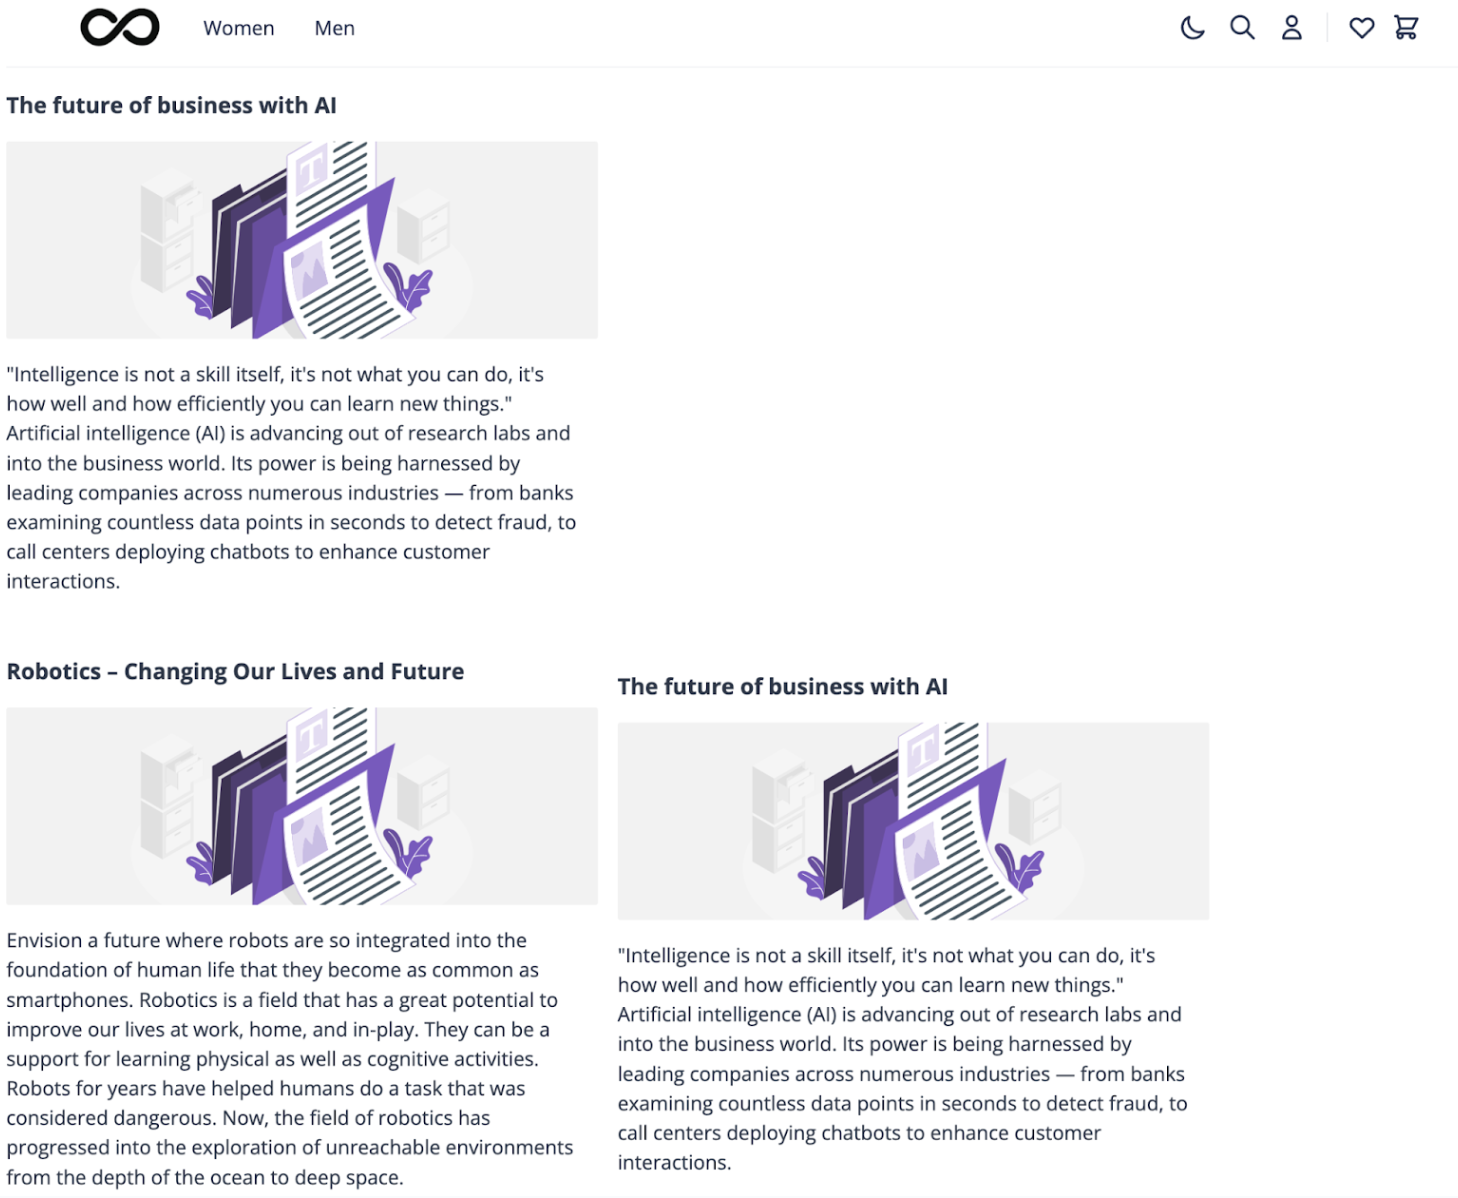
For demonstration purposes, in this document, you will learn how to render on your commercetools Frontend website one or multiple blog posts that you created on Contentstack.
**Prerequisites**
- A [Contentstack account](https://www.contentstack.com/docs/developers/contentstack-basics/how-to-start-using-contentstack/)
- [Contentstack API credentials](https://www.contentstack.com/docs/developers/apis/content-delivery-api/)
If the `content-contentstack` extension is not available in your commercetools Frontend project at this path `packages/PROJECT_NAME/backend`, before proceeding with the following configurations, you must:
1. Copy the `content-contentstack` extension from [the scaffold repository](https://github.com/FrontasticGmbH/scaffold-b2c/tree/main/backend/content-contentstack) to your project.
2. [Register the extension in your project](/frontend-development/extensions.md#define-extensions).
## Get started
To start using the Contentstack extension, follow these steps:
1. [Add the following project configuration fields to the project schema](/frontend-development/api-hub-configuration.md#add-project-configuration-fields-to-the-project-schema) from the Studio.
```json title="Add Contentstack project configuration fields"
{
"name": "Contentstack Extension",
"fields": [
{
"label": "Contentstack Api Key",
"field": "EXTENSION_CONTENTSTACK_API_KEY",
"type": "encrypted",
"translatable": false,
"required": true
},
{
"label": "Contentstack delivery token",
"field": "EXTENSION_CONTENTSTACK_DELIVERY_TOKEN",
"type": "encrypted",
"translatable": false,
"required": true
},
{
"label": "Contentstack environment",
"field": "EXTENSION_CONTENTSTACK_ENVIRONMENT",
"type": "encrypted",
"translatable": false,
"required": true
},
{
"label": "Contentstack region",
"field": "EXTENSION_CONTENTSTACK_REGION",
"type": "encrypted",
"translatable": false,
"required": true
}
]
}
```
2. [Set the Contentstack configuration values](/frontend-development/api-hub-configuration.md#enter-project-configuration-values-in-project-settings) from the Studio.
## Deliver content with the Contentstack extension
To deliver any type of media content with the Contentstack extension, follow these steps:
1. Create your content on Contentstack by setting up the following items: [Stack, Content Type, Environment, and Content Entries](https://www.contentstack.com/docs/developers/quickstart-in-5-mins).
For this example, we created the Blog Entry Content Type and two blog posts as Content Entries.
2. [Upload the data source schemas to the Studio](/frontend-development/contentstack.md#upload-data-source-schemas).
3. [Create the dedicated Frontend components](/frontend-development/contentstack.md#create-frontend-components).
4. [Add data sources to the dedicated page folder and configure data source filters](/frontend-development/contentstack.md#add-data-sources-and-configure-data-source-filters) in the Studio.
5. [Add the Frontend components to a dedicated page version](/frontend-development/contentstack.md#add-frontend-components-to-the-page-version) in the Studio.
### Upload data source schemas
The Contentstack extension comes with the following out-of-the-box [data sources](/frontend-development/development-concepts.md#data-sources) for Contentstack:
- `contentstack/content` to fetch a single content item from Contentstack.
- `contentstack/content-list` to fetch multiple content items from Contentstack with filters and configurations.
To fetch content from Contentstack, you must [upload to the Studio](/frontend-studio/using-data-sources-in-the-studio.md) the following data source schemas.
```json title="Schema of the Contentstack Content data source"
{
"name": "Contentstack Content",
"category": "Content",
"icon": "source",
"schema": [
{
"name": "Content Selection",
"fields": [
{
"label": "ContentType ID",
"field": "contentTypeUid",
"type": "text",
"translatable": false
},
{
"label": "Entry UiD",
"field": "entryUid",
"type": "text",
"translatable": false
}
]
}
]
}
```
```json title="Schema of the Contentstack Content List data source"
{
"name": "Contentstack Content List",
"category": "Content",
"icon": "source",
"schema": [
{
"name": "Content Selection",
"fields": [
{
"label": "ContentType ID",
"field": "contentTypeUid",
"type": "text",
"translatable": false
},
{
"label": "Limit",
"field": "limit",
"type": "number",
"default": 12
}
]
}
]
}
```
### Create Frontend components
To render on your website the data coming from these data sources, you must create [Frontend components](/frontend-development/development-concepts.md#components) linked to the mentioned data sources. In this example, we create the Frontend components to display a single or multiple blog content items.
To create the components, follow these steps:
1. Create the Frontend component schemas by [uploading the following schemas to the Studio](/frontend-development/creating-a-frontend-component.md#create-a-frontend-component-schema).
```json title="Blog component schema linked to the contentstack/content data source"
{
"tasticType": "commercetools/ui/content/contentstack-blog",
"name": "commercetools UI Contentstack Blog",
"icon": "bookmark",
"category": "Content",
"schema": [
{
"name": "Content",
"fields": [
{
"label": "Contentstack Content",
"field": "data",
"type": "dataSource",
"dataSourceType": "contentstack/content",
"required": true
}
]
}
]
}
```
```json title="Blog List component schema linked to the contentstack/content-list data source"
{
"tasticType": "commercetools/ui/content/contentstack-blog-list",
"name": "commercetools UI Contentstack Blog List",
"icon": "bookmark",
"category": "Content",
"schema": [
{
"name": "Content",
"fields": [
{
"label": "Contentstack Content",
"field": "data",
"type": "dataSource",
"dataSourceType": "contentstack/content-list",
"required": true
}
]
}
]
}
```
2. In your commercetools Frontend project under `components/commercetools-ui/content/blog`, add the following `index.tsx` file for the `Blog` React component.
```tsx title="index file of the Blog React component"
const Blog = ({ title, summary, banner }) => {
return (
);
};
```
3. In your commercetools Frontend project, add the `index.tsx` files for the `contentstack-blog` and `contentstack-blog-list` Frontend components.
- Add the following `index.tsx` file under `tastics/content/contentstack-blog`.
```tsx title="index file of the Contentstack Blog Frontend component"
import React from 'react';
import Blog from 'components/commercetools-ui/content/blog';
import { ContentstackLoader } from 'frontastic/lib/image';
export interface Contentstack {
uid: string;
summary: string;
title: string;
banner: string;
}
const ContentstackBlogTastic = ({ data }) => {
const blog = data?.data?.dataSource as Contentstack;
if (!blog) return <>;
return ;
};
export default ContentstackBlogTastic;
```
- Add the following `index.tsx` file under `tastics/content/contentstack-blog-list`.
```tsx title="index file of the Contentstack Blog List Frontend component"
import React from 'react';
import Blog from 'components/commercetools-ui/content/blog';
import { Contentstack } from '../contentstack-blog';
import { ContentstackLoader } from 'frontastic/lib/image';
const ContentstackBlogListTastic = ({ data }) => {
const blogs = (data?.data?.dataSource ?? []) as Contentstack[];
return (
{blogs.map((blog) => (
))}
);
};
export default ContentstackBlogListTastic;
```
4. Reference the `index.tsx` files for the `contentstack-blog` and `contentstack-blog-list` Frontend components in the `index.tsx` file under `frontastic/tastics`.
```tsx title="Blog and Blog List Frontend components in the components index file" highlightLines="8,9"
export const tastics = {
...
'commercetools/ui/checkout': Checkout,
'commercetools/ui/thank-you': ThankYou,
'commercetools/ui/cart': Cart,
'commercetools/ui/footer': Footer,
'commercetools/ui/header': Header,
'commercetools/ui/content/contentstack-blog': BlogTastic,
'commercetools/ui/content/contentstack-blog-list': BlogListTastic,
'commercetools/ui/content/tile': Tile,
'commercetools/ui/content/spacer': Spacer,
'commercetools/ui/content/showcase': Showcase,
...
default: NotFound,
};
```
### Add data sources and configure data source filters
Now you need to add the [**Contentstack Content** and **Contentstack Content List** data sources](/frontend-development/contentstack.md#upload-data-source-schemas) to the [page folder](/frontend-studio/page-folders.md) where you want to render the content and then configure the data source filters.
To add the data sources to the page folder and configure the data source filters, follow these steps:
1. If necessary, [create a page folder](/frontend-studio/page-folders.md#create-a-page-folder). Otherwise, from the Studio home page or from the left menu, go to **Site builder**.
2. In the page folder list, hold the pointer over the page folder where you want to render the content and click the **Settings** icon: the **Page folder settings** dialog opens.
3. In the **Data source** section, click **+ Add data source filter**: the list of the available data sources opens. From the list, you can select the **Contentstack Content** and **Contentstack Content List** data sources. When you select a data source, the [data source filter editor](/frontend-studio/using-the-data-source-filter-editor.md) opens.
4. Configure the data source filters as follows and save:
- For the **Contentstack Content** data source, enter the following values for the Contentstack Content Entry that you want to render.
- In **Content selection** > **ContentType ID** field, enter the [**Content Type ID**](https://www.contentstack.com/docs/content-managers/author-content/view-entry-references/).
In this example, we enter `blog_entry` that is the **Content Type ID** of the Blog Entry Content Type [that we created](/frontend-development/contentstack.md#deliver-content-with-the-contentstack-extension).
- In **Content selection** > **Entry UID** field, enter the [**Entry ID**](https://www.contentstack.com/docs/content-managers/author-content/view-entry-references/).
In this example, we enter the **Entry ID** of one of the blog posts [that we created](/frontend-development/contentstack.md#deliver-content-with-the-contentstack-extension).
- For the **Contentstack Content List** data source:
- In **Content selection** > **ContentType ID** field, enter the **Unique ID** of the [Contestack Content Type](https://www.contentstack.com/docs/developers/create-content-types/create-a-content-type/) [that you created](/frontend-development/contentstack.md#deliver-content-with-the-contentstack-extension) and that you want to render.
In this example, we enter `blog_entry` that is the **Content Type ID** of the Blog Entry Content Type [that we created](/frontend-development/contentstack.md#deliver-content-with-the-contentstack-extension).
- In **Content selection** > **Limit**, set the maximum number of content items that you want to retrieve.
You can also manage data source filters from the page builder, the **Templates** area, and the **Dynamic pages** area. For more information, see [Using the data source filter editor](/frontend-studio/using-the-data-source-filter-editor.md).
### Add Frontend components to the page version
Finally, you must add the [Frontend components you created](/frontend-development/contentstack.md#create-frontend-components) to the [page version](/frontend-studio/page-versions.md) where you want to render the content. Thus, the data retrieved from the data source is rendered on the page version through the Frontend component.
In this example, we add the **Contentstack Blog** Frontend component.
To add the Frontend components to the page version, follow these steps:
1. If necessary, [create a page version](/frontend-studio/page-versions.md#create-a-page-version). Otherwise, from the Studio home page or from the left menu, go to **Site builder**.
2. Use the page folder list and the status sections to navigate to the page version where you want to add the Frontend component. Then, hold the pointer over the page version and click the **Edit** icon: the [page builder](/frontend-studio/using-the-page-builder.md) opens.
3. Edit the layout of the page version as you wish. In this example, we add a **1/1** layout element to the **MAIN** [layout section](/frontend-studio/using-the-page-builder.md#layout-section).
4. Use the [**Components** pane](/frontend-studio/using-the-page-builder.md#components-pane) to find the Frontend component to add. Then, drag it to the layout element. In this example, we drag both the **Contentstack Blog** and the **Contentstack Blog List** Frontend components to the **1/1** layout element.
5. Select the Frontend component. Then, in **Component settings > Content** select the data source to associate to the Frontend component. In this example, we select **Contentstack Content**.

6. [Preview and save](/frontend-studio/using-the-page-builder.md#menu-bar) your changes. Your Contentstack content is now rendered on your commercetools Frontend website.
## Related pages
- [Area overview page with navigation](/frontend-development.md)
- [Previous page: Contentful](/frontend-development/contentful.md)
- [Next page: Dynamic Yield](/frontend-development/dynamic-yield.md)