# Build with the Checkout SDK The Checkout Browser SDK provides the tools to integrate the Checkout functionality into regular websites and JavaScript web applications. You can implement either a complete checkout flow or a payment-only mode, depending on your requirements. ## Prerequisites Before integrating the Checkout Browser SDK, make sure that you have set up the following items: - An API Client with the `manage_sessions:{projectKey}` [scope](/api/scopes.md) for use from your backend-for-frontend (BFF) to send requests to the Session API. - A Cart that contains at least one `LineItem`. You can [create a Cart with the SDK](/learning-implement-carts-and-shopping-lists/implement-carts/create-carts.md#create-a-cart-with-the-sdk), use [Postman](https://github.com/commercetools/commercetools-postman-collection), or use the Merchant Center. ## Create a Checkout Session A Checkout Session securely stores the permissions and configuration that are required to initialize Checkout. This separation between frontend and backend ensures security by keeping sensitive session creation logic on your server. Create the Checkout Session from your BFF by calling the Sessions API with the Cart `id` and the Checkout Application `id` or `key`. Use the API Client with the `manage_sessions` scope for this operation. ```ts title="Create a Checkout Session from your BFF" import fetch from "node-fetch"; async function createSession( region: string, projectKey: string, token: string, cartId: string, applicationKey: string, futureOrderNumber?: string ) { const url = `https://session.${region}.commercetools.com/${projectKey}/sessions`; const body = { cart: { cartRef: { id: cartId, }, }, metadata: { applicationKey: applicationKey, ...(futureOrderNumber && { futureOrderNumber }), // Optional: Set a custom Order number in your Checkout Session to let you track and manage your Orders across all platforms and payment service providers. This number is then stored as the `orderNumber` in the `Order` entity. }, }; try { const response = await fetch(url, { method: "POST", headers: { "Authorization": `Bearer ${token}`, "Content-Type": "application/json", }, body: JSON.stringify(body), }); if (!response.ok) { throw new Error(`Request failed: ${response.status} ${response.statusText}`); } const data = await response.json(); return data; } catch (error) { console.error("Error creating session:", error); throw error; } } // Example usage try { const checkoutSession = await createSession("eu-west-1", "my-project", "my-token", "cart-123", "app-456"); } catch (e) { // TODO: Handle session creation failures (for example, invalid cart ID, expired token, or network errors) } ``` Verify Cart ownership before creating a Checkout Session to prevent Insecure Direct Object Reference (IDOR) vulnerabilities. Fetch the Cart, and then compare its `customerId` or `anonymousId` to the authenticated user making the request. Your BFF or backend must always verify that the Cart belongs to the user who triggered the action. A successful response returns a Checkout Session object: ```json title="Checkout Session response" { "id": "537ec3b7-01f5-47b6-8a5c-3974a8bc4812", "expiryAt": "2024-03-13T10:20:45.661Z", "lastModifiedAt": "2024-03-13T09:20:45.661Z", "createdAt": "2024-03-13T09:20:45.661Z", "metadata": { "applicationKey": "{applicationKey}", }, "activeCart": { "cartRef": { "id": "{cartId}" } }, "state": "ACTIVE" } ``` You must use the `id` property (that's returned in the response) as the value of the `sessionId` property in the `checkoutFlow` and `paymentFlow` methods. You need to call these methods from your frontend by using the Checkout Browser SDK. ## Initialize the Checkout Browser SDK You can integrate the Checkout Browser SDK either as a [browser script](/checkout/browser-sdk.md#browser-script) or as an [npm module](/checkout/browser-sdk.md#npm-module). Choose the integration method that best fits your application architecture. ### Choose your checkout mode If your store needs Checkout to manage the full flow including address collection, Shipping Method selection, and Payment processing, call `checkoutFlow`. If you handle these steps yourself and only need Checkout for Payment processing, call `paymentFlow`. Both methods accept [configuration properties](/checkout/browser-sdk.md#configuration-properties) for customization including event handlers, CSS styling, text labels, and address form fields. For the complete method reference, see [Checkout Browser SDK](/checkout/browser-sdk.md). ### Integrate as a browser script Add the following code between the `` tags on each page where you want to enable checkout: ```javascript title="Browser script integration" Checkout Example

Checkout Example

``` Call the `checkoutFlow` or `paymentFlow` method to initialize checkout with your [configuration](/checkout/browser-sdk.md#configuration-properties). The following example uses `checkoutFlow`; for `paymentFlow`, replace the method name and refer to the [Checkout Browser SDK](/checkout/browser-sdk.md#paymentflow-method) reference. ```javascript title="Initialize Checkout with a browser script" ``` ### Integrate as an npm module Make sure that your development environment meets the following requirements: - Node v18.17.x or later - npm v8 or later or yarn v1.22.17 or later To install the SDK, run the following command: ```bash title="Install the Checkout Browser SDK" npm install @commercetools/checkout-browser-sdk ``` To initialize checkout with your configuration, call either `checkoutFlow` or `paymentFlow`. The following example uses `checkoutFlow`; for `paymentFlow`, replace the import and method name. ```ts title="Initialize Checkout with npm" import { checkoutFlow } from '@commercetools/checkout-browser-sdk'; checkoutFlow({ projectKey: '{projectKey}', region: '{region}', sessionId: '{sessionId}', locale: '{locale}', logInfo: true, // Recommended for debugging during development. logWarn: true, // Recommended for debugging during development. logError: true, // Recommended for debugging during development. // Other configuration properties. }); ``` For the full list of configuration properties including event handlers, styling, and localization options, see [Checkout Browser SDK](/checkout/browser-sdk.md#configuration-properties). The Checkout SDK must be loaded from a domain with HTTPS enabled to support cross-origin resource sharing (CORS). Add your public HTTPS URL to the origin URLs in your Checkout Application configuration. **Development options:** You can use any of the following approaches during development/testing: - Add `http://localhost` with a port number (for example, `http://localhost:3000`) to the origin URLs for faster iteration. Remove this URL before copying your Checkout configuration to production. - Use tunneling tools like Ngrok or Pinggy to create a public HTTPS URL that forwards to your `localhost`. - Use publicly accessible services like JSFiddle by adding `https://jsfiddle.net` and `https://fiddle.jshell.net` to your allowed origin URLs. ## Display the Checkout UI After you call either the `checkoutFlow` or `paymentFlow` method, the Checkout UI renders on your page. Choose any one of the following two display modes: **Inline mode**: add a `
` or `` element with the `data-ctc` Attribute to embed Checkout within your content. This mode doesn't display either the header or **Leave checkout** button, letting you render custom headers or footers around the component. **Full-screen mode**: when no element with the `data-ctc` Attribute exists, Checkout displays in an absolute positioned `
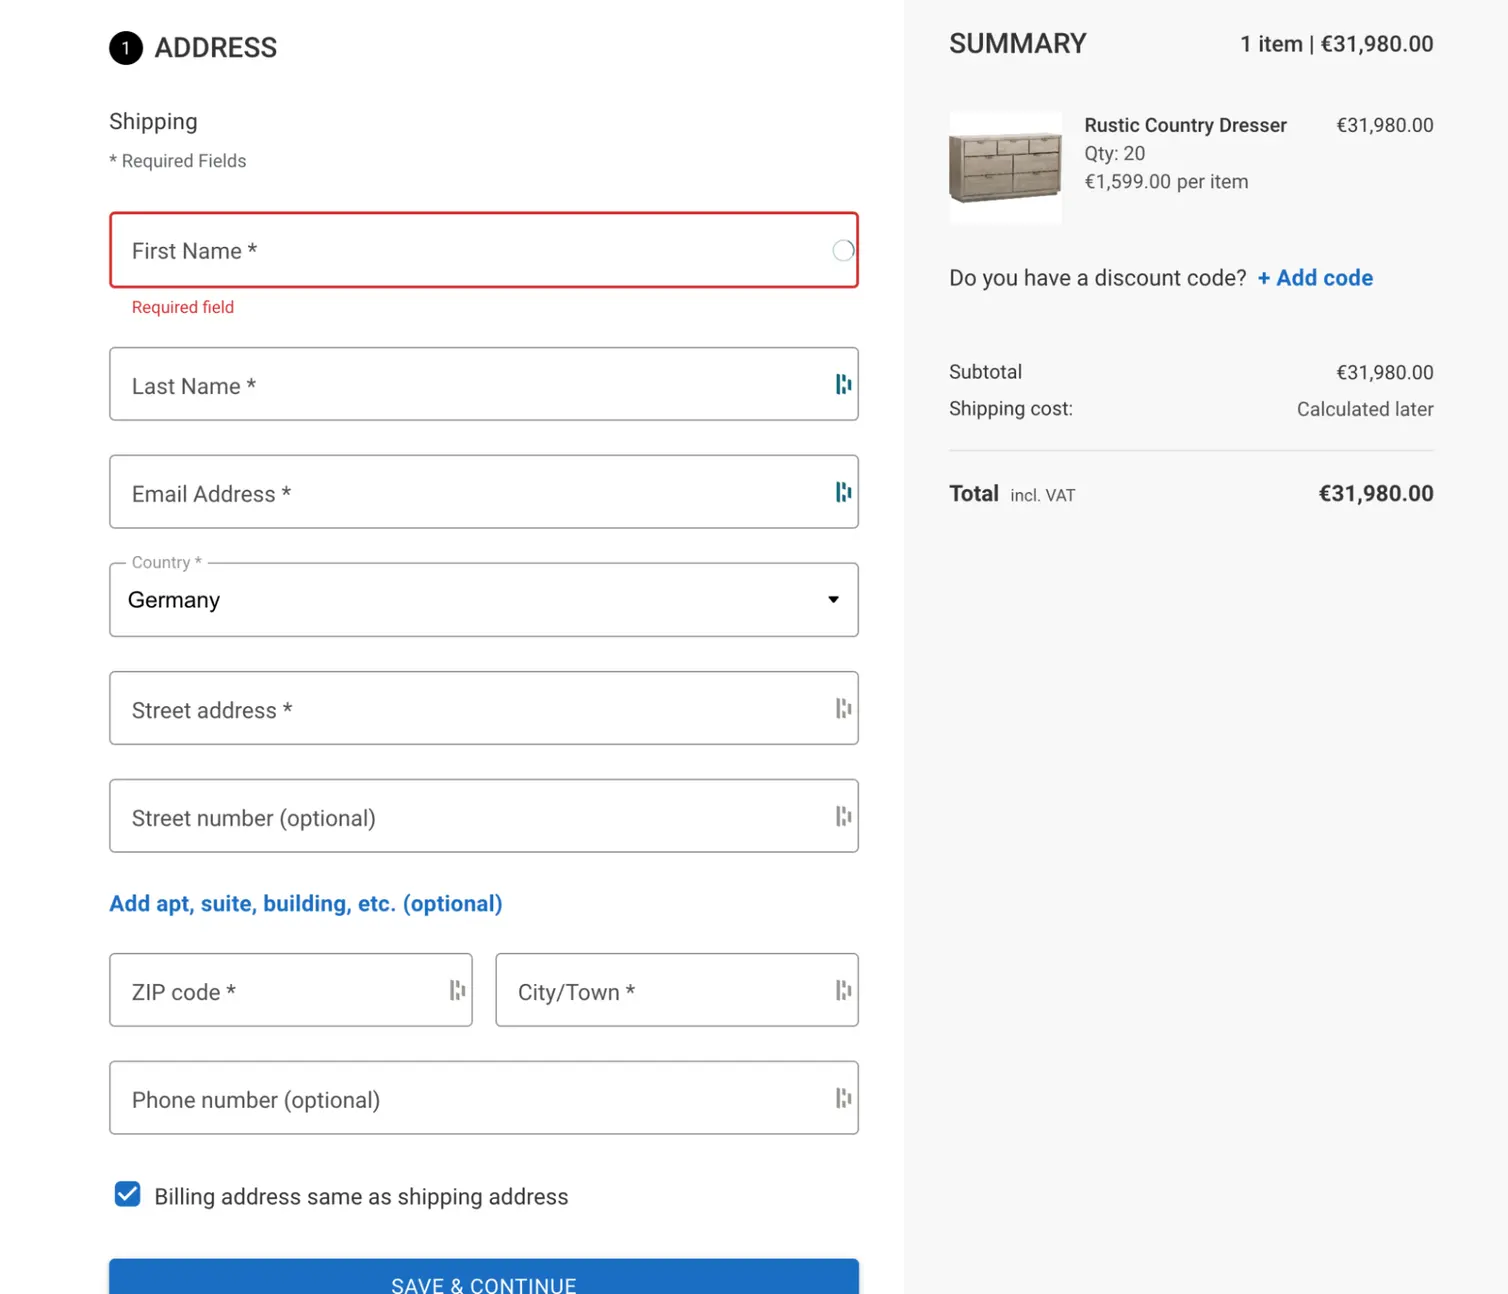
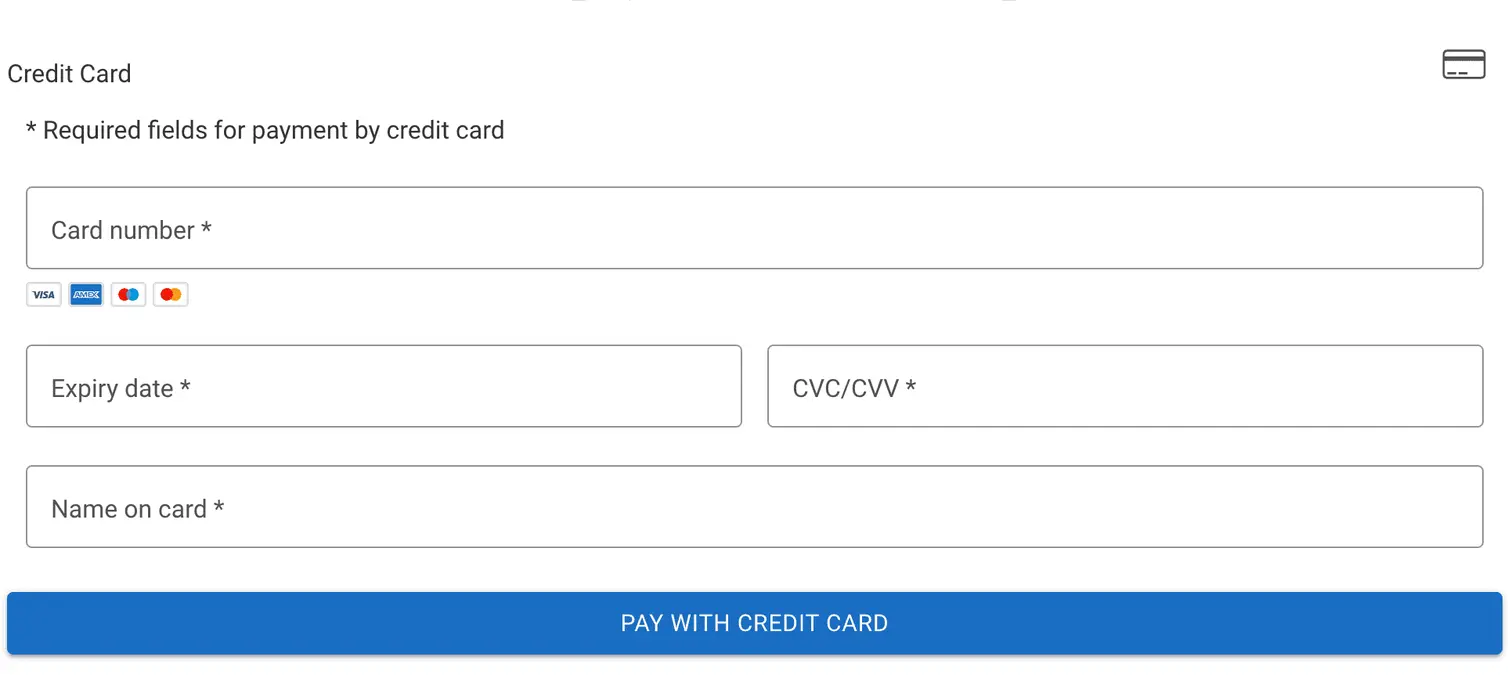
` that overlays your page content. This mode includes a header with your configured logo and a **Leave checkout** button. **Complete Checkout mode UI** ![Checkout UI displaying the shipping address form with fields for customer information including name, email, country selector, street address, ZIP code, city, and phone number. A summary panel on the right shows the cart item and total.](https://docs.commercetools.com/learning-implement-checkout/images/checkout-ui-address-form.png) **Payment Only mode UI** ![Payment Only UI displaying the payment method selection embedded within a custom checkout flow.](https://docs.commercetools.com/learning-implement-checkout/images/payment-only-ui.png) Use Payment Only mode only as the final step in your checkout process. This mode creates the Payment and Order, so all other checkout information must be collected beforehand. ## Key takeaways - The Checkout Browser SDK requires only a valid Checkout Session ID, which your BFF obtains using an API Client with the `manage_sessions` scope. - Create Checkout Sessions from your BFF by using the Sessions API to maintain security and prevent unauthorized access to Carts. - Initialize Checkout by using either `checkoutFlow()` for complete checkout or `paymentFlow()` for payment-only mode, depending on your requirements. - Integrate the SDK as either a browser script or npm module based on your application architecture. - Configure message handlers (`onInfo`, `onWarn`, `onError`) to receive checkout events for user experience management and analytics tracking. - Display Checkout either inline with the `data-ctc` Attribute or in full-screen mode by omitting this element from your page. - Payment Only mode creates the Payment and Order, so use it only as the final step after collecting shipping and customer details. ## Related pages - [Area overview page with navigation](/learning-implement-checkout.md) - [Previous page: Set up Checkout](/learning-implement-checkout/implement-commercetools-checkout/set-up-checkout.md) - [Next page: Payment Lifecycle](/learning-implement-checkout/implement-commercetools-checkout/payment-lifecycle.md) - [Search documentation and API specs](/search.md)